Oracle Cloud Signup
Wednesday, 2 Jun 2021
Without question, the hardest thing about getting FreeBSD running on OCI Oracle Cloud is getting past the initial sign-up process.
OCI
Oracle has Intel, AMD Epyc, and Ampere Altra systems available, both as para-virtualised cloud VMs, and also as bare metal behemoths. There’s a bunch of propaganda docs with some useful general info:
Oracle is providing both the Arm Accelerator Program if you have a reasonable business case, or a very generous Always Free tier, which provides 2 amd64 micro-VMs (0,5GiB RAM + 1 vCPU), and 4 awesome Ampere Altra OCPU cores + 24 GiB RAM, to partition however you like. This is enough for anybody’s side project, and definitely enough for our arm64 playpen.
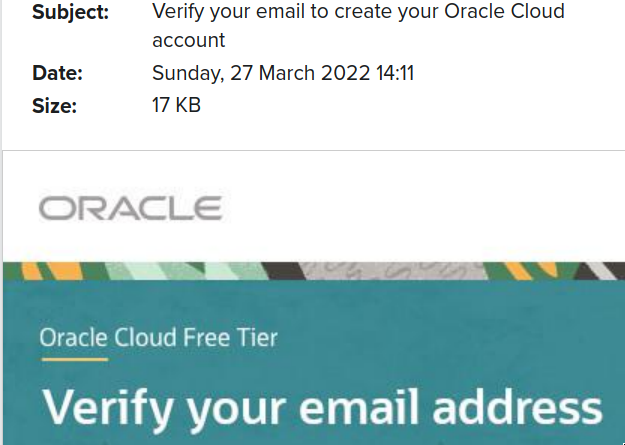
Sign Up
This is pretty pro-forma, you know what to do.

Account Info
It’s up to you to decide if Arnie is still human, though.

Sell Your Email to Larry

Additional Info
You now need to pick a cloud account name this is one of the few things you
can’t change later, despite what the screenshot says, and it needs to be
globally unique in OCI. Choose wisely.

Address etc

Payment Verification
This final step appears to be the hardest to get past. If you’re stuck here
contact dch@ with your account details and email address for a
behind-the-scenes assist. An actual working credit card (not a bank debit card)
and likely one from a region with a reasonable credit card trust history is
needed.

Terms and Conditions
You will need to read these as diligently as I obviously did. Your country is probably not Austria, either.

Profile and API keys
Finally, something interesting and unique to OCI. The profile is a small file
you can download locally to ~/.oci/config which gives the OCI command-line
tools a set of easily switchable profiles to access various cloud accounts.
Once you understand it, it’s very well done, but the signup and getting started
process is exquisitely confusing.

First up, we need to generate an API key. There’s no need to use the one Oracle generates for you (which is obviously not secure) but it does need to be a 4096-bit RSA key. Nothing else will do.

After you uploaded your API key, now you can download a nicely formatted and
pre-packaged config file, to go in ~/.oci/config.

Here’s mine, obfuscated, and with a few helpful links:
# ~/.oci/config
[DEFAULT]
fingerprint=67:87:a4:bb:3e:67:d1:ef:93:24:fe:6f:93:01:32:b1
key_file=~/.oci/oci_api.pem

[arnie]
user=ocid1.user.oc1..aaaaaaa......
tenancy=ocid1.tenancy.oc1..aaaaaa.....
region=eu-frankfurt-1
You can now use the excellent oci-cli tools from ports, and switch between profiles if needed via either commandline switch, or environment variable:
$ oci --profile arnie compute instance launch all-the-things
$ env OCI_CLI_PROFILE=arnie compute instance launch all-the-things
To get started, I highly recommend using one of the many terraform templates.
OCI docs are pretty solid, here’s some starting points:
- https://docs.oracle.com/en-us/iaas/Content/API/Concepts/sdk_authentication_methods.htm
- https://docs.oracle.com/en-us/iaas/Content/API/Concepts/apisigningkey.htm
- https://docs.oracle.com/en-us/iaas/Content/API/Concepts/sdkconfig.htm
- https://docs.oracle.com/en-us/iaas/Content/API/SDKDocs/clienvironmentvariables.htm
- https://docs.oracle.com/en-us/iaas/tools/oci-cli/latest/oci_cli_docs
- https://docs.oracle.com/en-us/iaas/Content/API/SDKDocs/cliusing.htm